She posted some pictures and there was this cute little pair of chairs that were....tired.


 I just love their lines. Love the front legs and the spindle backs...


 I got a little dirty.
 Success! Got both chairs done and ready for paint!

so
One coat on my fingers.

 Second coat going on... Thanks to the hubby for the pic!


 When I first saw the chairs I thought I wanted red, but in actuality I was open to other colors too. Mainly it would depend on what cushions I could find. I also didn't really expect to find cushions to quickly.
 I even love them from their back.
You will actually see the back side of these more in my house because they are going to be in the sun room with their backs to them main living area.


See them there? Just waiting for me to come rescue them and give them new life?
So I bought them!
And today was the day to tackle the chair project!
So to start with I needed to remove at least one coat of white paint on one chair and one and a half coats on the other one.

So...me and the MegaMouse got with it...

The wood is in really good shape.
They would actually be a good pair of chairs to strip all the paint off of and put a really nice dark stain on....but today they will just be painted.
Maybe in their next life...

Finally! One done....
...now on to the second one...


Well, maybe after this shot. Lily wanted in on the photo action.
Now to shoo her away....
Ok
I could go back with a conventional and traditional white. After all that's the color they were when I fell in love with them...
But they really wanted to be RED. Nice bright cherry red!


One coat on the chairs.
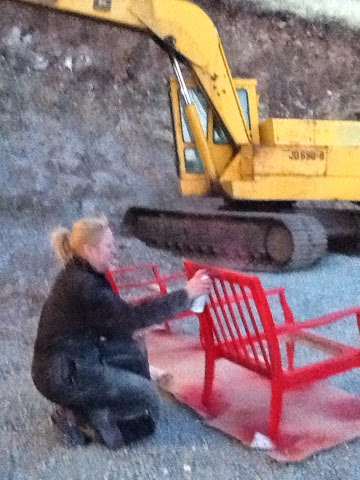

Yep, I'm in my coveralls. It was windy as heck earlier and off and on breezes by the evening, and we'd had some snow flurries earlier in the day.
What you can't see is that this was pajama day.... Dave was in his sweats and I still had my pajamas on under the coveralls. I also have my house slippers on....
Hence the reason I got a day to work on my own project. Dave spent the day watching movies on the couch taking a well deserved day off from our big house building project.
And the finished product?

Here they are. With their so cute black and white cushions.
Cushions are from Walmart garden center!

But these lovely black and white cushions were toward the back of our garden center and I felt like the seat cushions were just the right size.
I know.
Should have measured.
That's just how I roll.
When I found them, I knew I had to go with red.

You will actually see the back side of these more in my house because they are going to be in the sun room with their backs to them main living area.

My favorite throw pillow is the one below, but they only had one, so I got a stripped one to match the reversible side of the back cushions.

I think I will give them a light sanding and one final coat of paint in a day or so.
After I buy another can.
Then clean out the sun room and start looking for a small table to go in between....
Ah, the possibilities!


